This guide covers setting up the measurement rail, calibrating your takeoff boards, and running a
long or triple jump competition with JumpRail. The same guidance is available any time from the
Help button in the top-right corner of every screen in the app. All setup and
calibration values are entered in metric units.
Setup
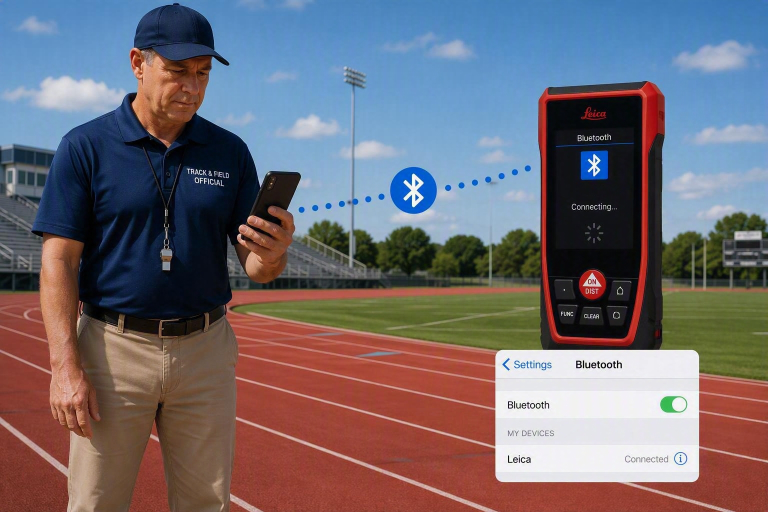
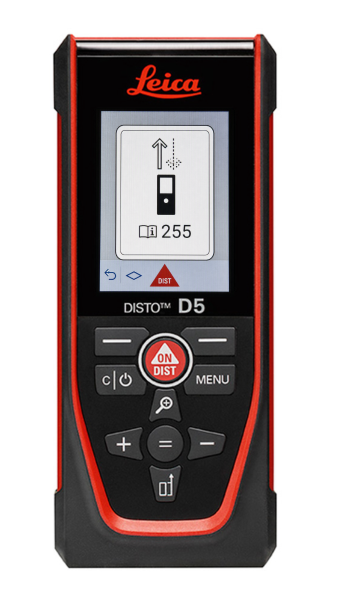
Before launching JumpRail, pair your Bluetooth laser rangefinder with your iPhone from the
iPhone’s Bluetooth settings. Once paired, JumpRail connects to the rangefinder automatically
every time it is opened.
Note: All setup and calibration values are entered in metric units.
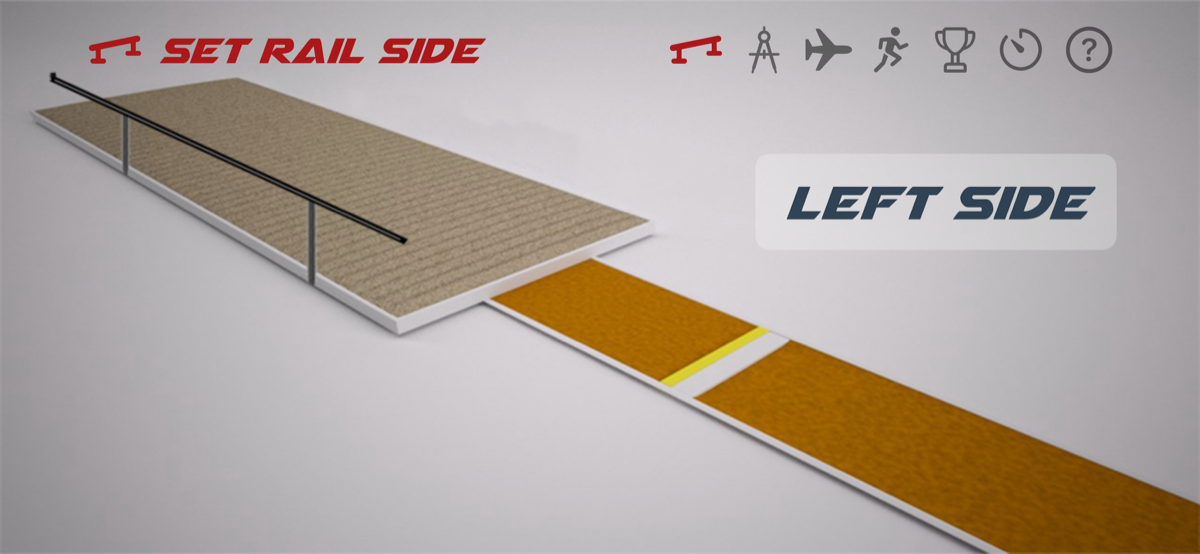
Select Rail Side
A measurement rail is installed alongside the landing pit.
Installing the rail
Secure two measuring tapes at the takeoff board foul line and extend them through the sand pit to
the far end. Continue past the pit and secure the tapes tightly so they stay suspended above the
sand and level with the takeoff board.
Position the rail parallel to the pit. The spotting laser mounted on the carriage must also be
parallel to the takeoff board.
Aligning the rail
Use the spotting laser to “toe-in” or “toe-out” the rail until it is
perfectly parallel to the board:
Turn on the spotting laser.
At one end of the rail, adjust the rail toward or away from the pit until the beam intersects
the same measurement value on both tape measures.
Move to the opposite end and repeat the adjustment.
Keep alternating between both ends until the laser aligns with identical tape values at both
locations.
Mounting the equipment
Mount the carriage, which holds the:
Distance measuring laser
Spotting laser
iPhone
Install the reflector at the end of the rail the distance laser measures toward. The reflector is
always mounted on the left side of the rail. Verify that the reflector and the
measuring laser are properly aligned.
Selecting the rail side
Open JumpRail and tap the Rail icon in the lower-left corner of the screen.
Select the side of the pit where the rail is installed. This setting determines whether the
measured laser offset is added to or subtracted from the tape measurement when calculating jump
distances.
Note: A rail side must be selected before any calibration
entries will be accepted.
Calibration of Offsets
Attach a measuring tape to the center of the takeoff board and extend it through the pit so it
remains suspended above the sand and level with the runway. This calibration must be completed for
every takeoff board that will be used during the competition.
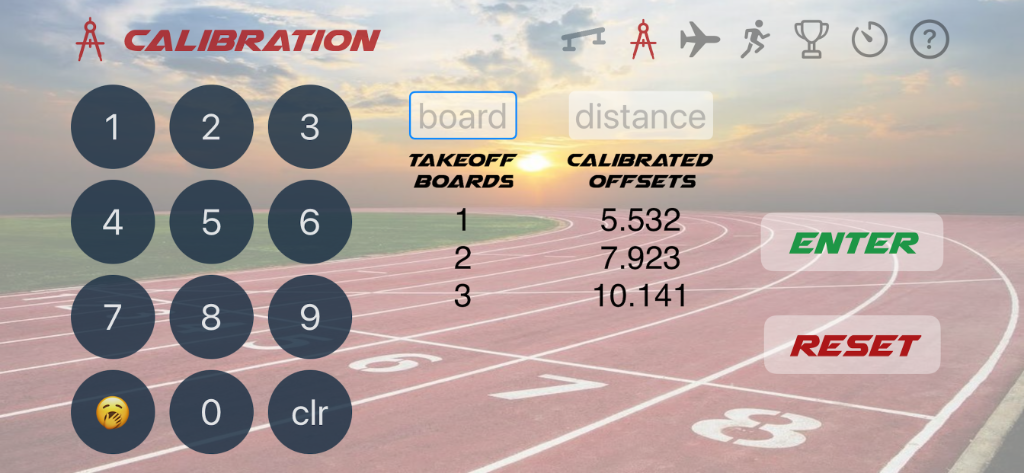
Creating a board calibration
Tap the Compass icon to open the Calibration screen.
Enter a board identifier in the Board field. Identifiers can be numbered
sequentially (1, 2, 3) or represent the board’s distance from the pit (20, 24, 28).
Move the carriage along the rail and use the spotting laser to identify a measurement point on
the tape.
Tap the Distance field and enter the exact tape measurement.
Press Enter.
The measuring laser triggers automatically, obtains a distance reading, calculates the offset, and
displays both the board identifier and the calibrated offset value. Repeat this procedure for each
takeoff board used during the competition.
Clearing an entry
If an incorrect board number or distance is entered before pressing Enter, tap CLR
to clear the entry.
Resetting all calibrations
Warning: Pressing RESET twice permanently
erases all stored offsets. Every calibration will then need to be recreated, so use this with
care.
Flight Order
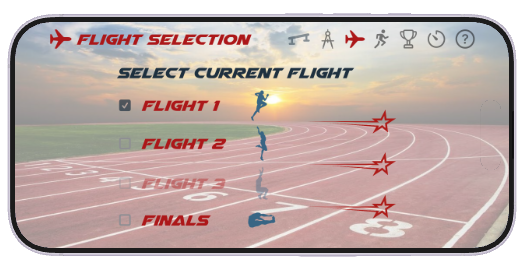
Tap the Airplane icon to select the current competition flight: Flight 1,
Flight 2, Flight 3, or Final.
Flight locking rules
Flight 1 is selected automatically when the app is first used.
Flight 2 becomes available after at least one jump has been recorded in Flight 1.
Flight 3 becomes available after at least one jump has been recorded in Flight 2.
The Final becomes available after at least one jump has been recorded in Flight 1, 2, or 3.
Flights that are unavailable appear dimmed and cannot be selected.
Once the competition advances to a later flight, previously completed flights cannot be
reselected.
After each round of competition, return to the Flight screen and select the next active flight.
Event Screen
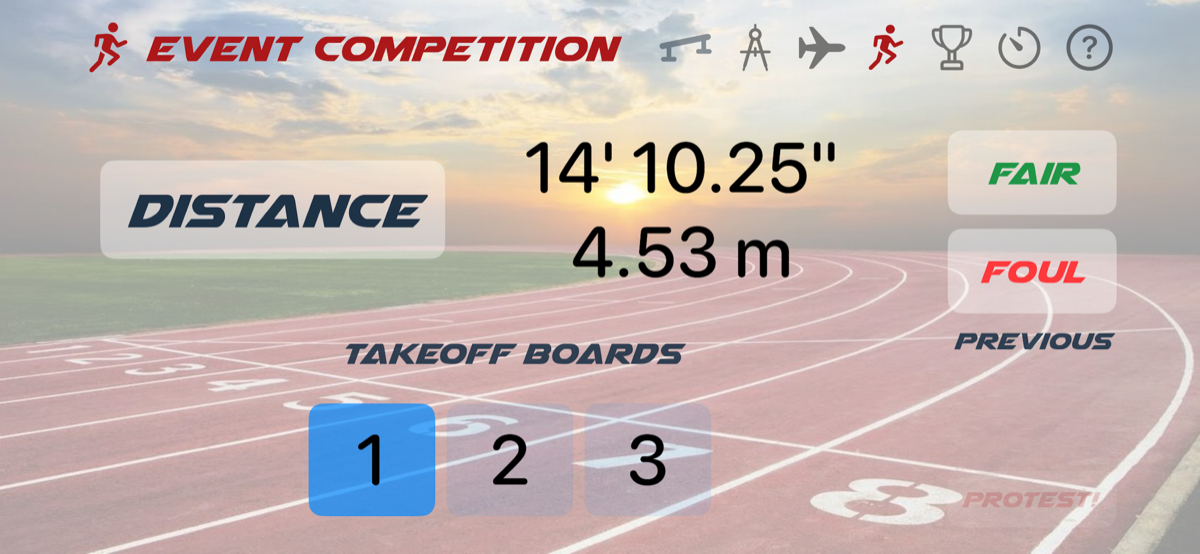
Tap the Running Figure icon to enter the Event screen.
Selecting a takeoff board
All calibrated takeoff boards appear as buttons along the bottom of the screen. Select the board
used for the athlete’s attempt. If only one board has been calibrated, it remains selected
automatically.
Measuring a jump
After the athlete lands:
Move the carriage to the landing mark.
Align the spotting laser with the nearest break in the sand.
Tap Distance.
The measuring laser triggers automatically and calculates the jump distance using the selected
board’s stored offset. If necessary, tap Distance again to take a new
measurement.
Recording a result
Once a valid distance has been measured:
Tap Fair to record a legal jump.
Tap Foul to record a foul attempt.
These buttons remain disabled until a valid measurement has been captured. When Fair or Foul is
selected, the current distance is saved to the database, the measured distance is cleared from the
screen, and the recorded result appears in the lower-right corner as the most recently measured
jump.
Recording a protest
If a foul jump is being protested, record the jump as a foul and immediately tap
Protest. The protest must be entered before any subsequent measurement is taken.
The result is flagged in the database as a protested attempt.
Results
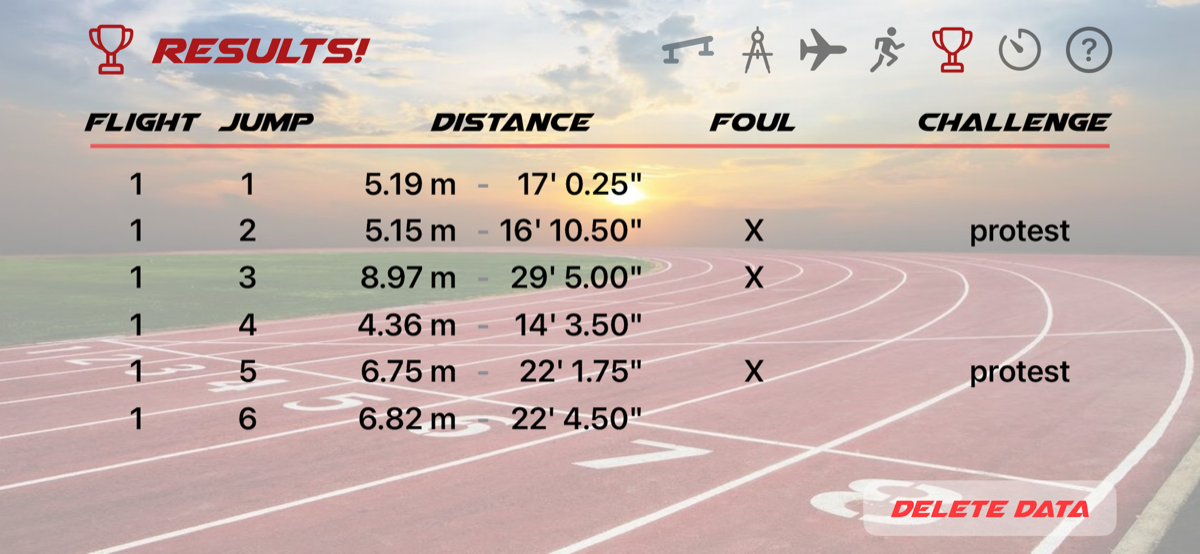
Tap the Trophy icon to view recorded performances. The Results screen displays
every recorded jump, including distance, fair / foul status, protest indicators, and flight
information.
Clearing results
Warning: To erase all stored competition data, press
Delete Data twice.
Returning to competition
Tap the Running Figure icon to return to the Event screen.
Warmup Timer
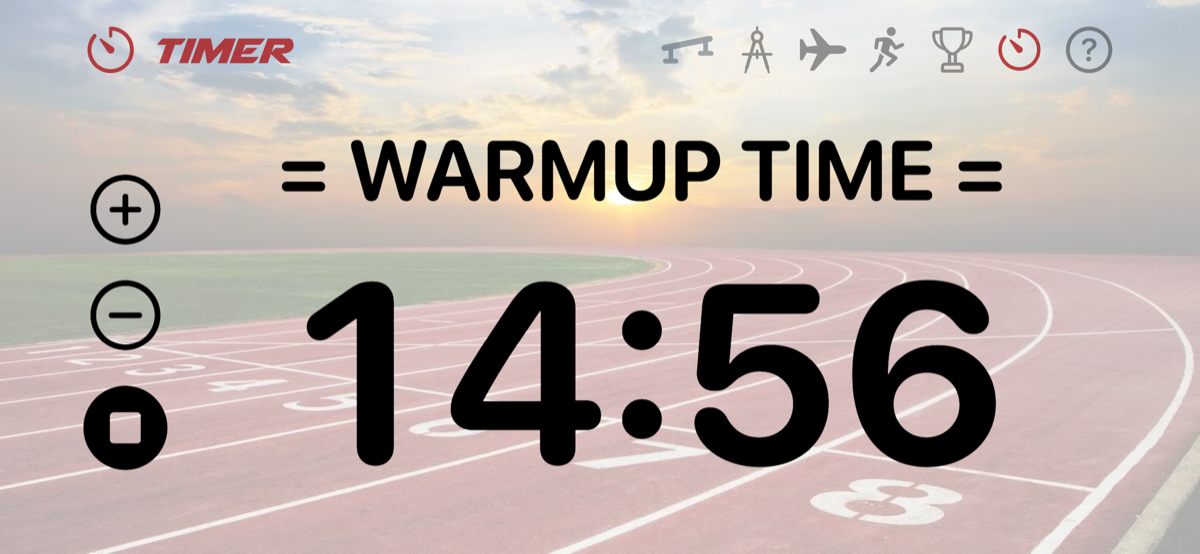
JumpRail includes a configurable countdown timer for athlete warmups. The timer defaults to
15 minutes but can be adjusted using the + and − controls
before or during operation.
When the countdown reaches zero, the message WARMUP COMPLETE is displayed
prominently on the screen. Tap anywhere on the message to clear it and reset the timer.
Connected Distance Displays
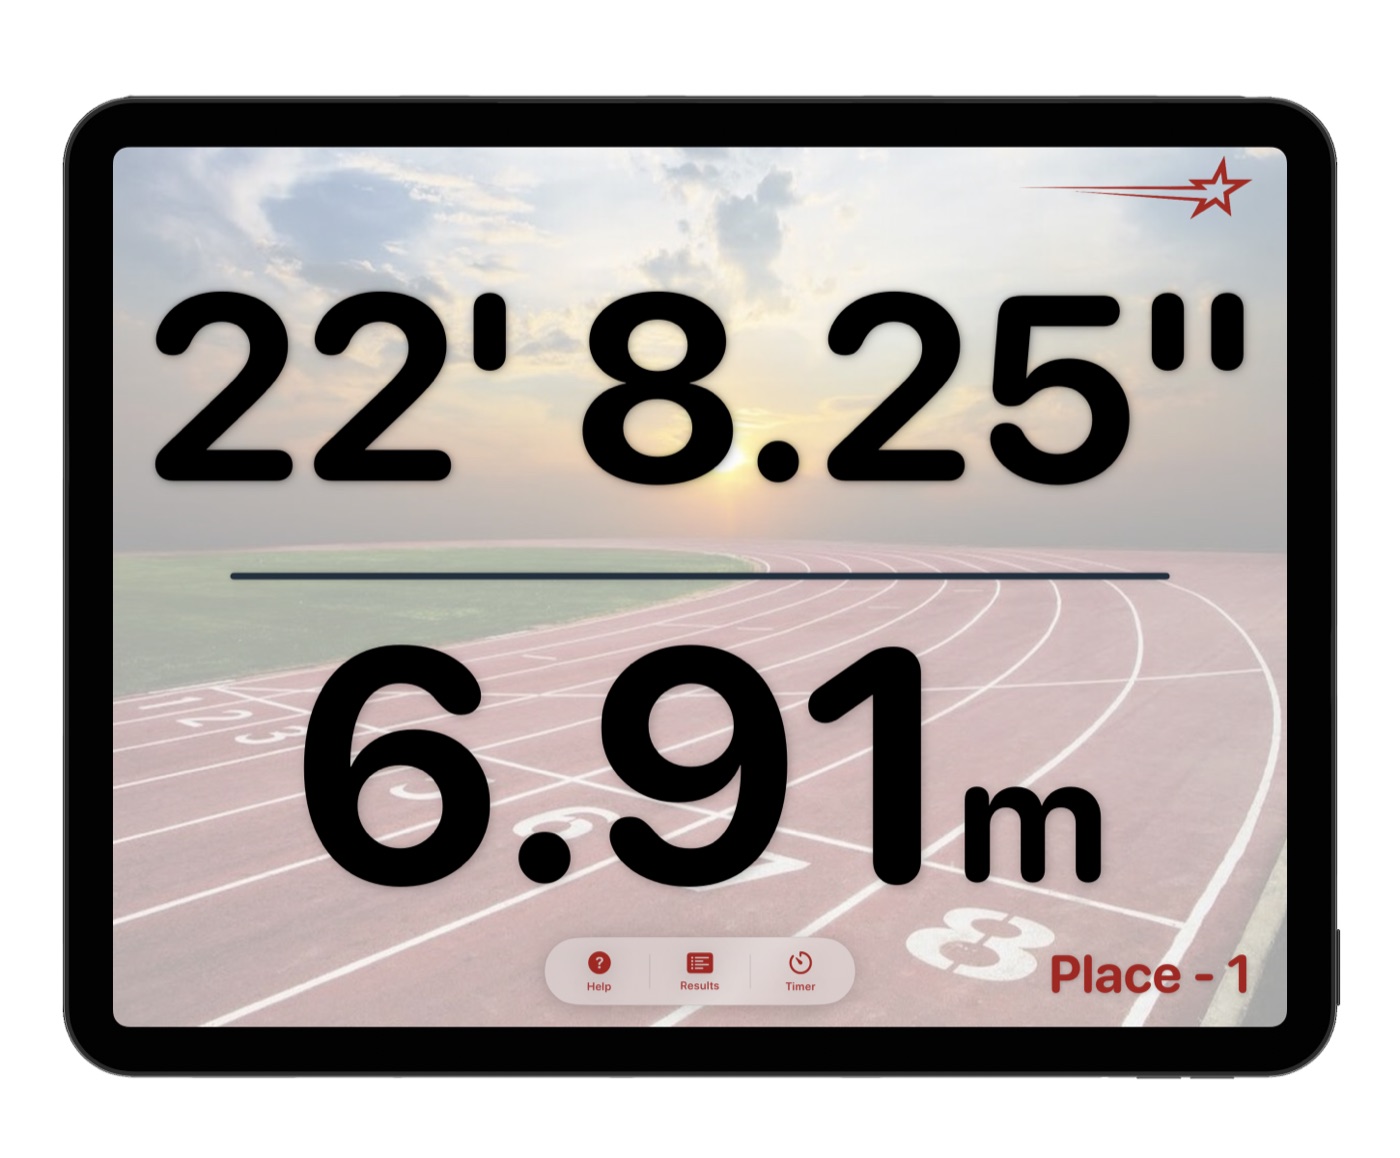
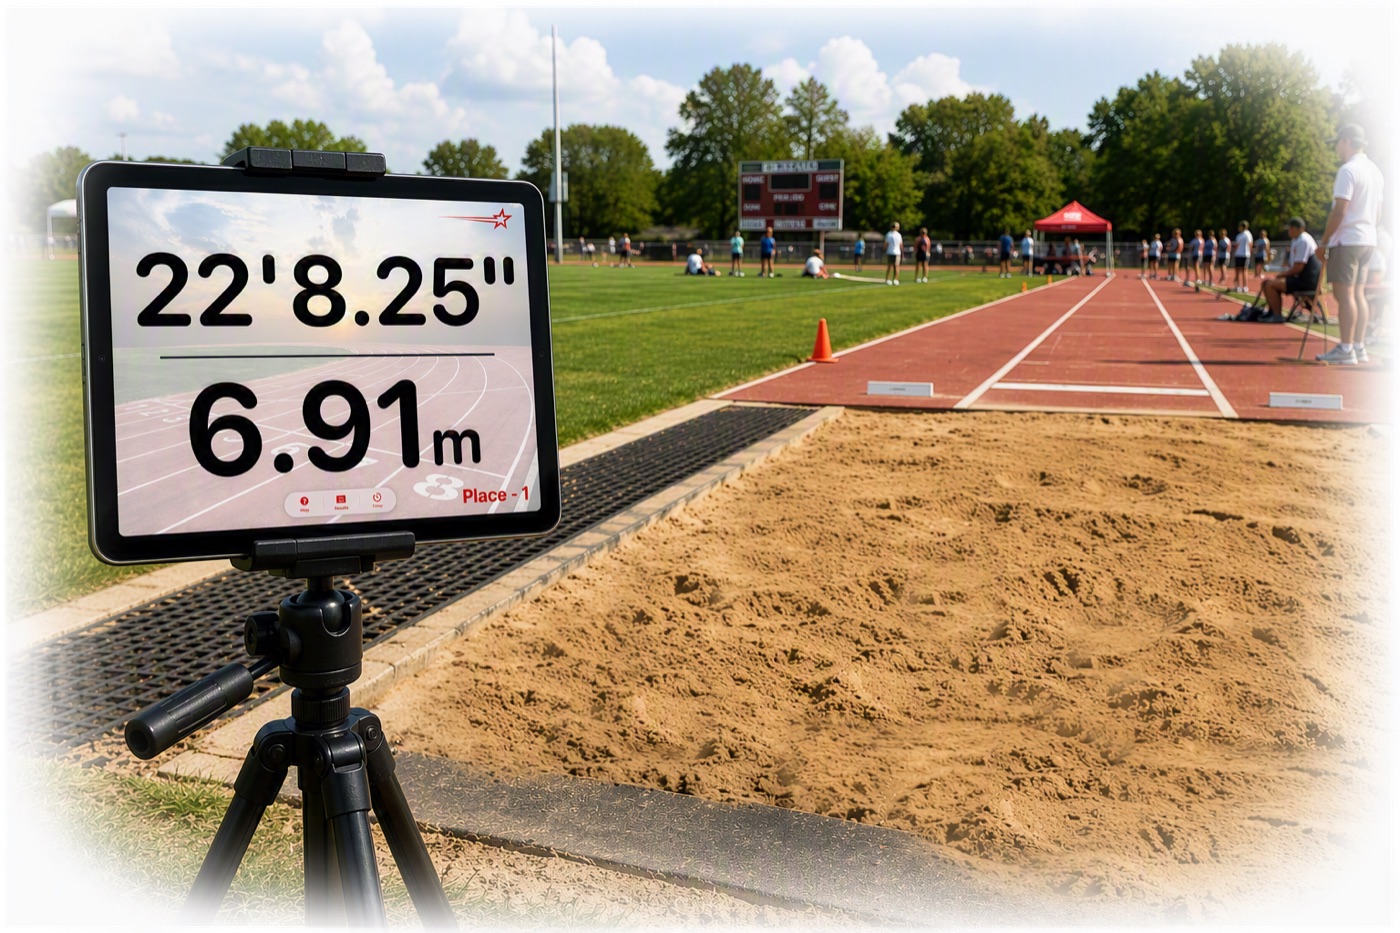
JumpRail can broadcast live results and timer updates to multiple iPads running
Traxxtar LaserPad (available on the App Store), letting athletes,
coaches, spectators, and officials view results and warmup timing on larger displays throughout
the event.
Requirements
All devices must be connected to the same Wi-Fi network.
No additional configuration is required within JumpRail.
Results and timer updates are transmitted automatically whenever a jump is recorded or the timer
changes.
Foul jump display
Foul attempts are shown on connected LaserPad screens as a red flag indicator rather than a
distance measurement.
Error Recovery
If the laser rangefinder fails to return a measurement, the device itself may enter an error
state. To clear the error:
Press the trigger button on the rangefinder once.
Verify the error message has cleared on the device display.
Return to JumpRail and retake the measurement.
This restores normal communication between JumpRail and the rangefinder.
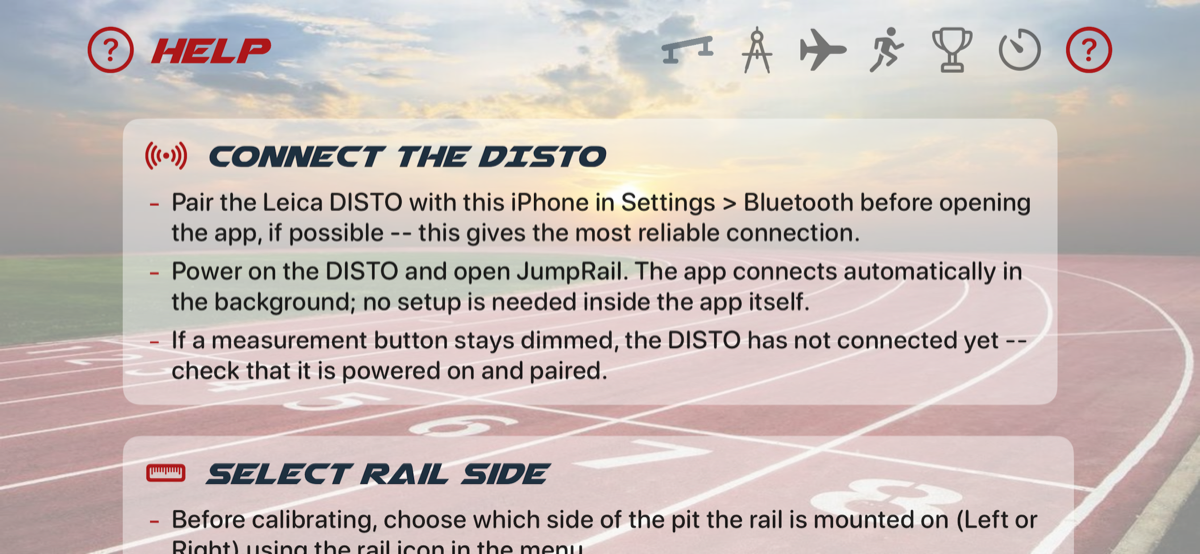
In-App Help
Every JumpRail screen has a Help button in the top-right corner. It opens this
same guidance inside the app, so you can check a step in the middle of a meet without leaving what
you’re doing.